Showing posts with label scotch tape mani. Show all posts

BPS Nail Studs

I got another products from Born Pretty Store for a review and this time I chose a wheel of nail studs in 12 different shapes and a matte top coat. Today I have a mani to show you with those nail studs:

I wanted to try out several different studs so I did this mixed up mani with four different studs. I used Orly Miss Conduct as the base color and then I added also some black polish to some nails. Index and pinky are done with scotch tape technique and for the ring finger I did diagonal gradient. After the polishes were dry I added a coat of top coat and then placed the studs.

This mani isn't really my style and I didn't really like this. There are some nice elements, for example I really like the ring finger nail and also the pinky, but those stars are way too big for me. Infact, the picture at BPS website shows that the stars in the wheel are much tinier, but at least in my wheel they are really big. However, it was quite easy to bend them just a bit so that they fit the curvy nails a bit better. 

The studs come in a wheel like this. The wheel is a bit smaller than some rhinestone wheels that I've previously bought, but there is still quite many studs in this. BPS says there are approximately 300 pcs in this, so there's really enough for several and and even more manis. I just wish those stars were a bit smaller and that there could have been more black studs in this (there are only those small round ones that are black).

With this wheel you can nevertheless have the variety of different studs and this is perfect for trying out different shapes and shades, if you don't want to buy large amounts of one shape or shade.

Don't forget that if you want to buy this or some other products from BPS you can use my code to get 10% off:


*The product in this post was sent for me to review, for more information see my disclosure policy.

MANicure - When your man does your nails

So this really fun challenge has gone around in Finnish nail polish blogs for a while now and I finally decided that I - or technically my boyfriend - should also participate. I'm a little late with this as everyone else has done it a while ago, but better later than never, right? So the main idea of this challenge is to get your boyfriend/husband or brother or father or any man in your life to do your nails. The challenge was originally created by Liisa and you can find her original post here. However, the rules were in Finnish, so I took the liberty to loosely translate them to English, so here are the rules:

1. Only the man can touch the nail polish bottles
2. You can't give any advices
3. You can choose the desing and style freely
4. Take pictures of the finished manicure, and it's also good to take pictures during the process
5. You can remove the polish right away after taking the pictures if you feel like it
6. Man, who doesn't accept the challenge is a lame-ass wussy (:D)
7. And finally, remember to laugh!

It didn't take too much to get my boyfriend to accept the challenge, I guess he didn't want to be a lame-ass wussy. But after he agreed to do it, it took quite a while to get to the actual painting of my nails. First he chose the nail polishes and wanted to draw a plan:

The plan is quite cute, right?! He said he wanted blue and white polish that had shimmer, so after a long search of my helmer he found China Glaze Frosty and Color Club Cold Metal. Frosty was quite obvious choice, because it's probably the only shimmer white that I have, so he didn't have lot to choose from. He also remembered that I had said that Cold Metal is really good, so that's why he decided to use that. Then he also chose China Glaze Fast Forward, which I was a bit worried about, because there isn't much left of it, so it has become a bit thick.. But the rules were that you can't give any advices, so I didn't say anything.

After choosing the colors, he wanted to practice and I provided him with one of my nail wheels. The practicing took a little while as he also used the computer and searched my blog and several others to see how he should do the mani. From the blogs he picked up the idea to use schotch tape.

So here are the practice nails. He used China Glaze Fast Forward to the nail on the left (and also managed to smudge it with his finger) and noticed that it was quite thick, so at this point I kindly directed him towards another top coat. I know, it was againts the rules, but I didn't want his hard work to get ruined because of a top coat that doesn't work properly. So he ended up using Essie Good to Go to the other practice nail and it worked better. As you can see, he also practiced the use of the scotch tape with the nail on the right, which was kind of cute too.. :) 

So after all the reasearch and practice, it was finally time to start painting my nails. At this point I had to again say something, as he was going to start without a base coat, and well, I didn't want my nails to get more stained than they already are, so I asked if something was maybe missing. After a while of thinking he figured out that he should probably use somekind of base coat and he went to search my helmer again and found Nail Tek Foundation II. So he first painted one coat of that, then waited a while and then started to paint with Cold Metal. 
 
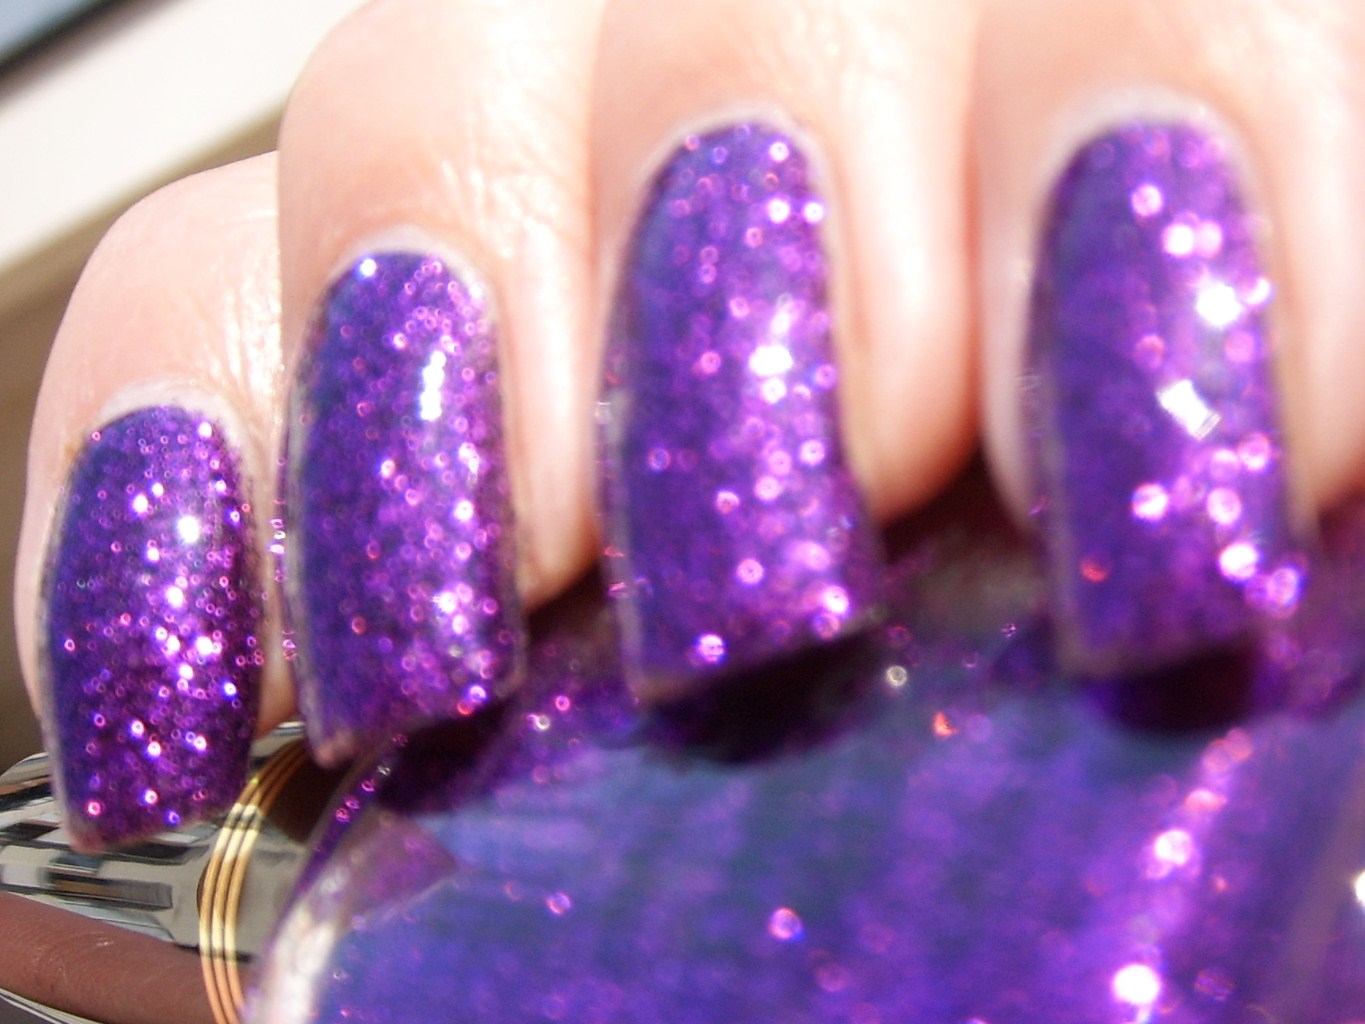
I thought the brush technique was really good and he managed to get the polish on really nicely, although there was also some polish on the cuticles and on the side of the nails too. But overall, I tought he did very good! If you look at the pinky, there isn't practically any polish on the sides of the nails, so very good for a person that hadn't ever painted nails, right?! He used one coat of Cold Metal and I think it was three coats of Frosty. As you can probably see, he also figured out that it is only necessary to paint the middle of the nail with Frosty, as that is the part that is going to show in the finished mani.

So after he had painted all my nails and also applied the quick dryer, it was time to cut the stripes of the scotch tape. This took quite a while and I think he cut at least ten stripes to get the ones that he was totally happy with. But very thorough working I'd say!

After a while he decided that my nails were dry enough, so he placed the tape stripes to the middle of my middle and ring finger nails one at a time and painted the sides of the nails with Cold Metal. I was a bit worried that the tape would pick up some of the polish underneath as I tought it probably hadn't had enough time to dry. Gladly, this happened only a bit, so the manicure wasn't ruined and the hard work didn't go to waste.
  
So after he had done both hands with the polish and with the quick dryer, he thought he sould probably clean my fingers a bit as he said that he knows I always do that. So we went to the bathroom and first he used some cotton sticks to clean up the majority of the polish. 

After the cotton sticks he noticed the brush that I always use for cleaning up the polish and so he thought he should use that one too. He really did a quite good job with the cleaning up, though it took quite a lot of time too.
 
So of course after that the manicure was ready. He said that the inspiration of this manicure are racing stripes of racecars, if you were wondering.. ;)

So, what do you think? Did he do a good job or not? :)

Like I said in the beginning of this post, many Finnish nails polish bloggers like Sonne, Katjamaria, Emma and Päivi have already done the challenge (these blogs are all in Finnish, but you should really check out the manicure that Päivi's man did, it's awesome!). However, I'd like to challenge some non-Finnish bloggers to this challenge too, so I challenge:

ritterbraten of Das Experiment
maRyya of Konad Addict

Also I of course challenge every one else too that want's to do this challenge! If you do it, please leave a link to the comment section, because I really want to see your MANicures! This was really so much fun, so I recommend this to all! :)

Pink Orange Red

I wanted to do something fun and bright, because after all it is still summer (eventhough the weather hasn't been very summery), so I did a tape mani with pink, red and orange.


This is probably one of those manis where the idea is better than the execution. This was infact a fun manicure, but as I was in a bit rush doing this, the lines aren't as neat as I would like them to be.

I started this mani with two coats of Essence Guilty Pleasures and after it was dry I taped my nails and added a coat of Essence Orange, It's Obvious. After the whole thing was dry again, I once again taped the other side of the nails and added a coat of Zoya Sooki and then finally I finished the mani with China Glaze Fast Forward.

I've shown Essence's Guilty Pleasures to you before, but here it is anyhow on it's own:
Seche Base
Essence Guilty Pleasures 2 coats
INM Out The Door Fast Drying Top Coat

Dots & stripes

I have only once done a polka dot mani and the one time was for the 31 days challenge, so I really wanted to do a polka dot mani again. It isn't probably the most comfortable look for me, but it's fun to step out from the comfort zone once in a while. So here's what I ended up with:

So I used Snowcrystal Light Taupe and China Glaze Re-Fresh Mint for this one. My dot's aren't by any means perfect, so I really need more practice, but from normal distance this mani looked really fun. I didn't want to do the whole mani with dots only, so I decided to do a accent nail with some stripes. Hope you all like it!

Day 12: Stripes

It's time for another challenge manicure and this time it's a stripes mani. I wanted to do a scotch tape mani once again, so I did quite wide stripes and I also wanted to do something sweet and girly, so here it is:


So I used Misa As Pink As You Please and China Glaze Frosty (two coats each) and then of course topped it off with top coat. This didn't turn out like I had in mind, but I thought that the outcome wasn't so bad either. It reminds me a bit of ballerinas or something girly like that.

Day 7: Black and White - Explosion

It's day seven of the challenge and I had to wear black and white nails, which I don't normally do, ever. I had to think quite long how I would use these two colors and I finally decided to try a simplified explosion desing inspired by Jane from Nailside. Well, my explosion isn't really nothing like Jane's but at least it's black and white..


I did this mani with just two colors as it was the challenge. I used Mavala White and Essence Berlin Story as the black. I wasn't really pleased with the outcome, I think it was also partly because I'm not really comfortable about wearing white polish.. And then as you can see my top coat caused also some bubblying, so this mani wasn't so great success.

Easter manicure

As promised, I have Easter manicure for you today. I wanted to do something with pastel colors and here's the result:

So I used (again) scotch tape and the colors I used were Color Club Pardon My French and China Glaze Re-Fresh Mint & Lemon Fizz. The white bunny is made with nail art liner and then I added also some half pearls. I had to add the bunny because before that these nails didn't look so easter-y.. Anyways, I think the final result was quite cute and at least somewhat recognisable as easter nails.

Milani Purple Gleam tape mani

I have another scotch tape mani for you today. This time I also used craft scissors for the mani, inspiration again taken from Erika at Chloe's Nails. I bought these scissors long time ago for Christmas card crafting and now I found another use for the scissors, which is always nice.


I used Milani Purple Gleam and Essence Berlin Story. I also wanted to see how it would look matte, so I added one coat of China Glaze Matte Magic:

Well, I think it looked better before adding the matte top coat and this look didn't really work for me. But that's what is good whit these matte top coats, if you don't like it, you can always add another coat of regular top coat or quick dryer to get it back to shiny again. So that's what I did, because it looked way better that way..

Here's some pics of Milani Purple Gleam by herself:


I included one blurry pic to show you the sparkle. Purple Gleam is a part of Milani's One Coat Glitters collection and this was almost good with one coat, but really needed two to get it even out and avoid bald spots. But anyways, it's really good for a glitter polish and as it is glitter, it dries really fast, so I don't think it's anyway problem to do two coats. It's not probably any surprise that I love this, it's glitter and it's purple, so yeah, it's a winner for me.

China Glaze Custom Kicks scotch tape mani

I'm sure you all have seen all the amaxing manis that Erika does with scotch tape, so of course I had to give it a try too.


I used China Glaze Custom Kicks as base color and also China Glaze Atlantis on ring finger to make the mani even more interesting. Then I taped it with scotch tape and used Essence I Love Berlin LE Berlin Story. I thought this was really fun manicure, though it isn't perfect. I think I need to try some other tape manis too, it's so much fun and quite easy to do.

Here's Custom Kicks by herself:

This is just one coat, because I knew I was going continue the mani from this. If you're gonna wear it alone, it needs probably two coats. And this pic isn't really color accurate, it's more teal IRL than blue. I'm not so into blues/teals and though this is really pretty with that golden shimmer, I probably wouldn't wear it alone as it didn't feel like me, but as part of tape mani this was really good. And I don't many blues/teal in my collection anyways, so I think I need to keep this, even though it isn't exactly my color.