Showing posts with label KKCenterHk. Show all posts

#31Nails2014: #5 Rhinestones


Hello everyone!


The theme for day 5 is Rhinestones. And I had to ask Nails Magazine if it was OK to use these huge nail decorations. Lol! Although you can't see it behind all the foil and rhinestones, I have used some nail polish for this manicure too. First, I applied base coat, and silver nail polish, then nail glue, and nail foil, and after that I placed my stones. I hope you miss seeing tonns of photos! Lol! :-) I love photographing manicures like this. It was hard to only pick 12 photos. Which picture do you think I should share on Instagram?


If you feel some kind of Déjà vu, you have a very good memory, because although I haven't showed you this stage of this manicure before, you might have seen stage 4 (very bold sci- fi "Pepper Potts Nails" made for Polish Days in June), stage 2 (Holographic nail foil, and how to use it), and stage 1 (the beautiful silver nail polish). This is stage 3, which is without the glitter french tips.


Products used: 

IsaDora #600 Clear (fast drying base coat)
Pieces: Silver (silver foil nail polish)
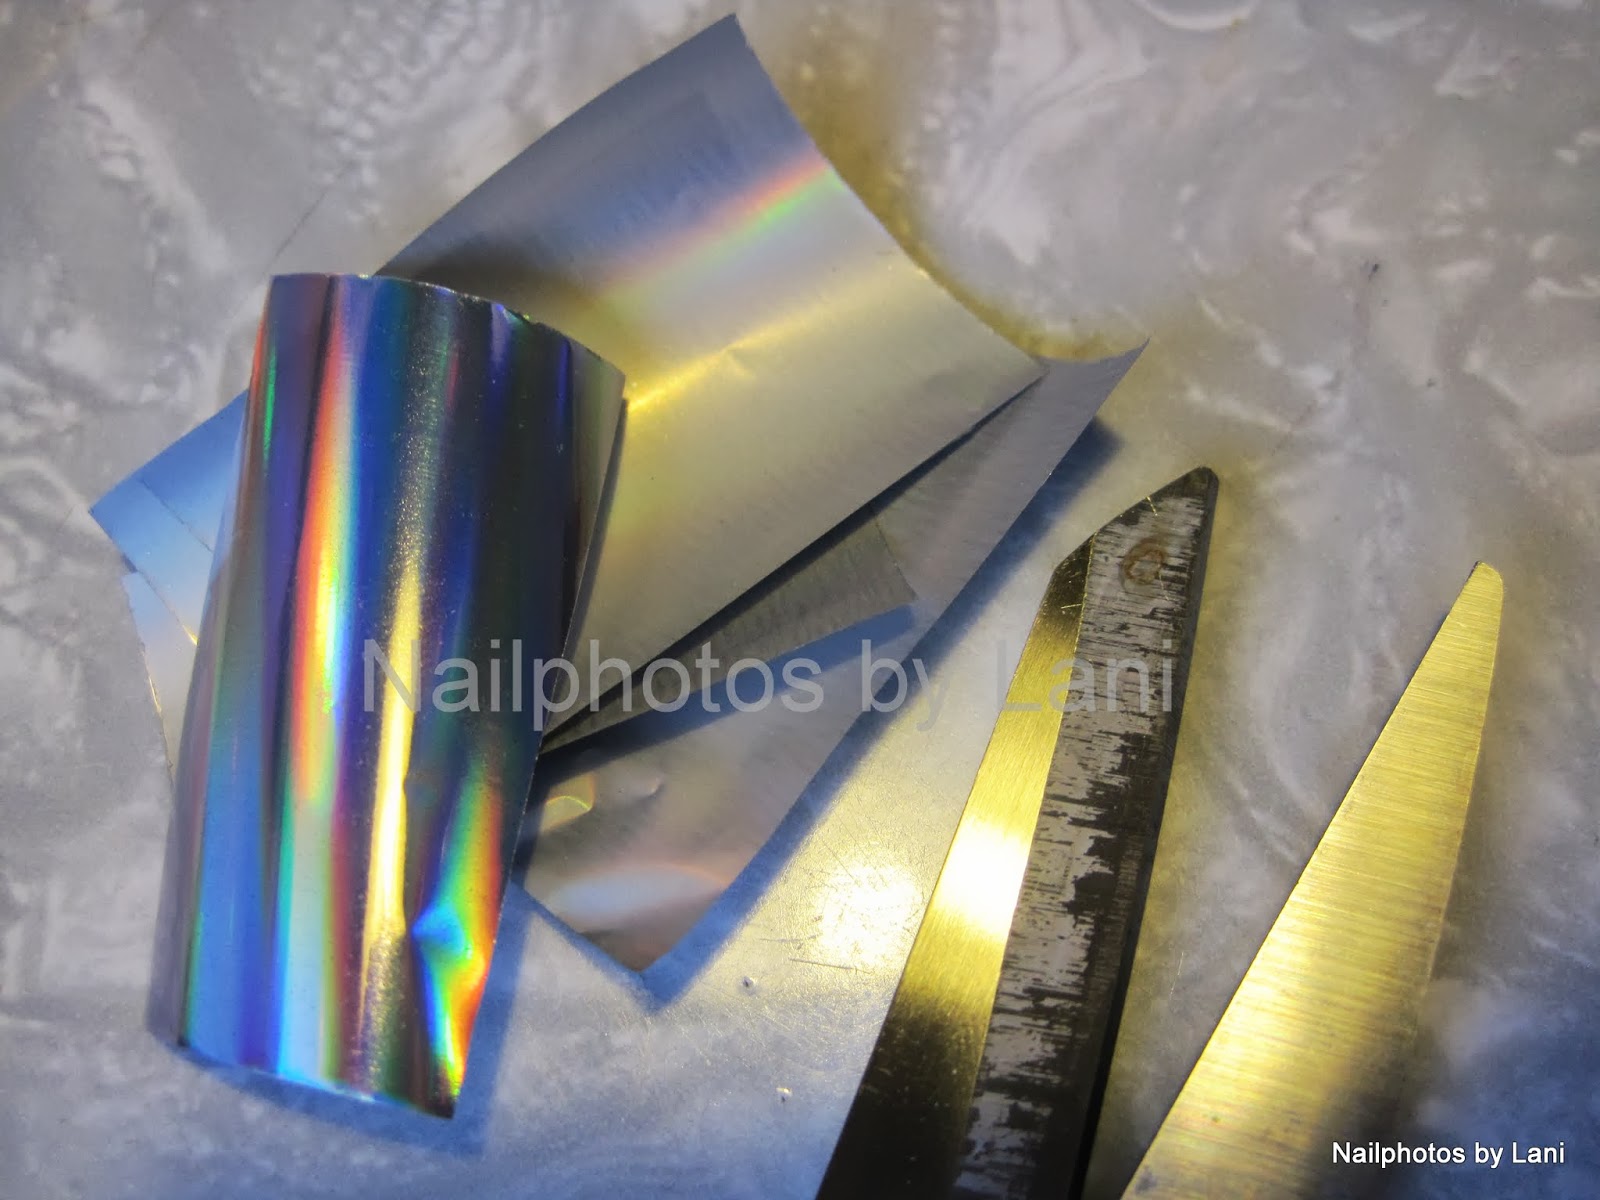
N.NAIL Shiny Silver Nail Foil Transfer [NNAIL-E24] (nail foil +glue)
N.NAIL Drop Shaped Rhinestones Nail Art 6mmX8mm-Iridescent [NNAIL-DRN694] (rhinestones)
a Q- tip
scissors

What I didn't have when I made this mani, was a good top coat for nail foil. Next time I'll try Picture Polish: Revolution as top coat. It's cruelty- free, and I've heard that it works over foil without damaging it.

The nail foil, glue, and rhinestones can be bought from KKCenterHk, but the foil is sold out at the moment. If you want to buy something from KKCenterHk, feel free to use my 10% coupon code; "Nailphotos by Lani".


What's your favourite nail foil? And which of these pictures do you like best? I need help deciding which photo to share on Instagram for this Nails Magazine challenge. (I'm not on Instagram yet.)


Lani

Kismet butterfly nails


Hello everyone!


This butterfly nail art was made in April. I used linear holographic nail polish for both the base and the stamping, and added a few fimo butterflies. I also used these fimo butterflies last year for my Black butterfly nails, where I also showed how to use this kind of nail decoration.


Used:

Base: Color Club: Kismet
Stamping polish: Color Club: Beyond (used here)
Stamping plates: Konad m36 and m78
Fimo butterflies: N.NAIL Black Butterfly Modelling Clay Nail Decorations [NNAIL-DRN276]
Holographic glitter top coat: INM Out The Door Northern Lights Hologram Top Coat Silver
(I also used a basecoat for holographic nail polish)


Remember that you can use the coupon code "Nailphotos by Lani" to get 10% off if you buy something from KKCenterHk. But now they have a Halloween sale.

The N.NAIL butterflies were a gift from KKCenterHk. They also sell Color Club and stamping plates.

Lani

Sexy Girl Glitter from KKCenterHk


Hello everyone!


For this manicure I used the Black and the Hot Red N.NAIL Sexy Girl Glitter. I chose these fun nail art glitters when KKCenterHk contacted me, and wondered if I would like to try some of their new products! :-) Yeay!!! And as usual you can use my coupon code. They sent me these two boxes filled with enough Sexy Girl Glitter for 50 years or something:


Look at those cute girls! Or should I say "sexy glitter"? I hope this post won't result in a lot of spam...


This is what I used:

N.NAIL Sexy Girl Glitter Black
N.NAIL Sexy Girl Glitter Hot Red
Red nail polish (Ruby Kisses: MNP31 Ruby Kisses Red)
Black nail polish (GOSH: Nero)
Base coat and top coat
Tweezers


Because my nails are curved and the glitter is completely flat, I had to bend the glitter to the shape of my nails. I thought about different tools, but ended up using tweezers and my fingers. But because of the rough handling of the glitter, and because I later got Seche Vite on the fingers that I tried to work with, and on both sides of the glitter, some of the red color was removed in the process. But the black one still looks fine. So next time I'll be more careful and not use my disposable medical plastic tweezers, but one with flat tip for the bending.


According to KKCenterHk you can use this glue. It is a multipurpose glue. It's the same glue that I used for the nail foil. Maybe that would have given a better result, but I used top coat this time.

If you want to buy something from KKCenterHk, the coupon code "Nailphotos by Lani" will give you 10% off. But sometimes they have larger discounts for special events, so remember to take a look at the main page too.

Thank you KKCenterHk for giving me all this pretty glitter! :-)

Lani

Holographic Nail Foil from KKCenterHk, and how to use it


Hello everyone!


Today I want to show you the nail foil that KKCenterHk let me try. I have already showed this foil with huge drop shaped rhinestones and a glitter french about a month ago. To see that post, click here. I really enjoyed photographing this foil, because it looks very different in different light conditions, when I move my fingers, and it also reflects the color of the surroundings. For instance my top and the sky. And because it looks even more "super holographic" on the photos. It was surprisingly easy and quick to apply the foil. I just followed KKCenterHk's video tutorial. First I'll show you how I applied the foil, and then the rest of the photos. Feel free to scroll down to the photos if you want to :-) The photos really look very different.


N.NAIL Shiny Silver Nail Foil Transfer [NNAIL-E24] and glue:

N.NAIL Shiny Silver Nail Foil Transfer [NNAIL-E24], glue

How to use nail foil step by step:


1 Apply base coat

2 Apply silver nail polish (the same color as your foil), and let it dry

3 Cut one piece of foil for each nail

4 Apply glue (I used an orange stick to remove excess glue, but that was probably not necessary.)

5 Wait until the glue has changed from white to transparent.

6 Put a piece of nail foil over a nail, and carefully use a Q- Tip to make the foil stick to the nail.

7 When the foil is no longer attached to the plastic, carefully lift it

8 Clean the foil from your cuticles with a flat brush dipped in acetone or nail polish remover. (It is much faster to remove foil than nail polish)


Top coat:


None of my top coats worked, so all these photos are taken before top coat. But I've read that it's possible to use Picture Polish Revolution as top coat over foil. Thank you More Nail Polish for finding out, and thank you Neglelakkmani for spreading the news to me! :-) I'll try Revolution next time. If you want the foil to last more than a few hours, you need a top coat. I've also heard that water based top coats can be used. Have you found a top coat for nail foil?

More photos:


Light source: LED lamp


I've used the foil like this twice. I really like it, although it looks a bit wrinkly. I also tried to use it for stamping. But the glue didn't transfer well to the stamper. Next time I think I'll try to use a tiny brush to put glue on areas where I want foil. If you want good "foil nail art ideas", Robin Moses has several YouTube tutorials where she used nail foil.


The name of this nail foil & direct link to where you can buy it:

N.NAIL Shiny Silver Nail Foil Transfer [NNAIL-E24]

It's possible to buy only foil or foil and glue. If you want to buy something from KKCenterHk, the coupon code Nailphotos by Lani will give you a 10 % discount. (You can also find my coupon code on the right side)


The KKCenterHk video:

I think this is the same video that you can find online on the page where you can buy the foil. The video shows how to apply nail foil.


Thank you KKCenterHk for giving me this beautiful nail foil set!!! :-)


Lani